Ever wondered how to transform your home into a stylish sanctuary without breaking the bank or spending hours on complicated projects? DIY home decor is taking the interior world by storm because it offers a fun, personalized way to elevate your space with minimal effort. Easy DIY ideas are especially popular because they allow you to add unique touches, showcase your creativity, and refresh your home effortlessly—all while saving money! In this article, you’ll find a treasure trove of inspiration and practical ideas to help you achieve effortless style through simple DIY projects.
From chic wall hangings and cozy accents to clever repurposing and eye-catching decor, there’s something for every taste and skill level. Whether you’re a seasoned DIY enthusiast or just starting out, these ideas will spark your creativity and make decorating your home an enjoyable, rewarding experience.
1. Stylish Macrame Wall Hangings for Boho Charm
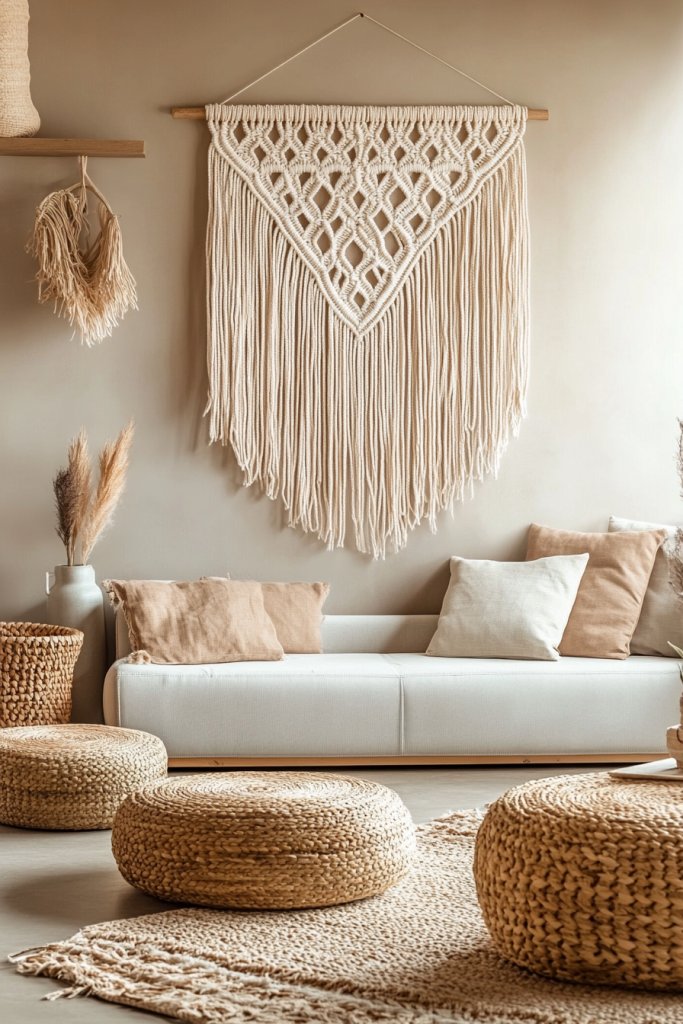
Adding a macrame wall hanging instantly infuses a space with relaxed boho charm, making your home feel cozy and inviting. These handcrafted textiles serve as eye-catching focal points that blend texture and artistry effortlessly.
Imagine a large, intricate piece made of soft, natural cotton cords, knotted into delicate patterns with fringed ends. The design drapes loosely against the wall, with neutral tones like warm beige, creamy white, or earthy browns that complement various decor styles.
The tactile quality invites touch, while the layered knots and tassels create depth and visual interest. The overall effect is a gentle, inviting ambiance that adds warmth without overwhelming the space.
Getting started is simple: all you need are some cotton cords or jute twine, a wooden dowel or metal rod for hanging, and a basic knowledge of knotting techniques. Begin by measuring and cutting cords to your desired length, then follow online tutorials for creating popular knots like square knots or spiral patterns.
Finish with tassels or beads for extra flair. This project is perfect for beginners and can be customized to match your color palette and wall size, making it a versatile decor piece.
2. Upcycled Mason Jar Candle Holders for a Cozy Glow
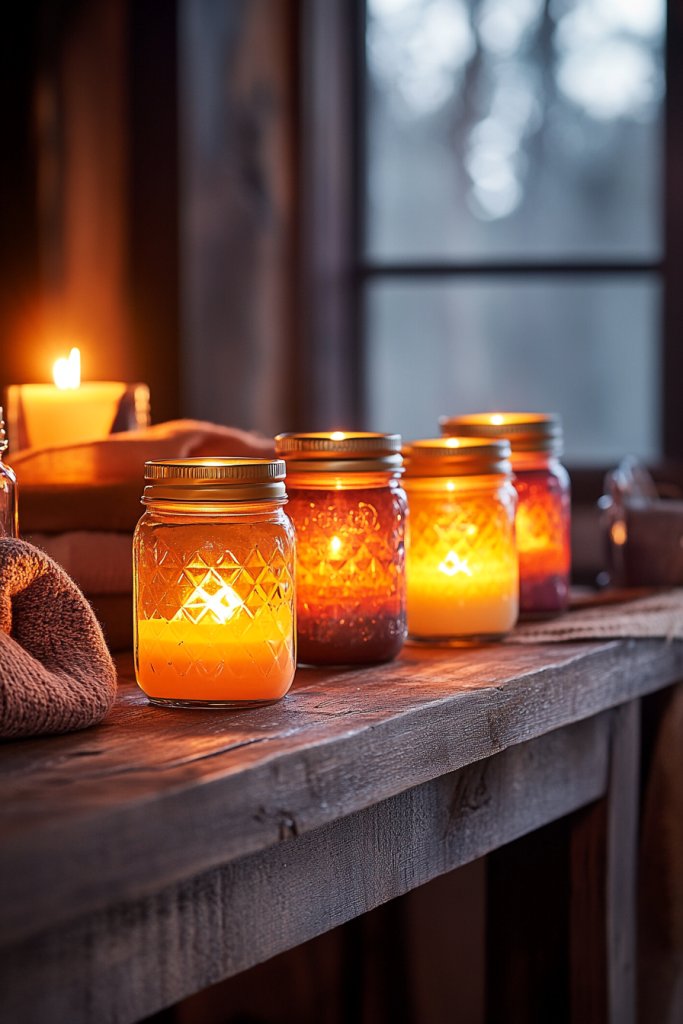
Transforming ordinary mason jars into charming candle holders creates a warm, inviting glow perfect for cozy nights or intimate gatherings. This DIY idea combines sustainability with style, making your decor both eco-friendly and visually appealing.
Picture a collection of mason jars painted in soft pastel shades or left clear to showcase the flickering candle flames. Inside, small tea light or votive candles cast dancing shadows, while the jars’ textured surfaces reflect the candlelight, adding a gentle shimmer.
You might add decorative elements like twine, lace, or dried flowers around the lids for extra personality. When lit, these jars emit a soothing, ambient light that instantly creates a relaxed atmosphere.
To make your own, gather clean mason jars, tea light candles, and optional decorating supplies like twine, burlap, or dried botanicals. Start by cleaning the jars thoroughly, then paint or decorate the outside as desired.
Place candles inside, and arrange the jars on a tray or hang them with twine for a rustic display. This project is budget-friendly, quick to assemble, and perfect for adding a personal touch to your living space.
3. Textured Throw Pillows with Unique Covers
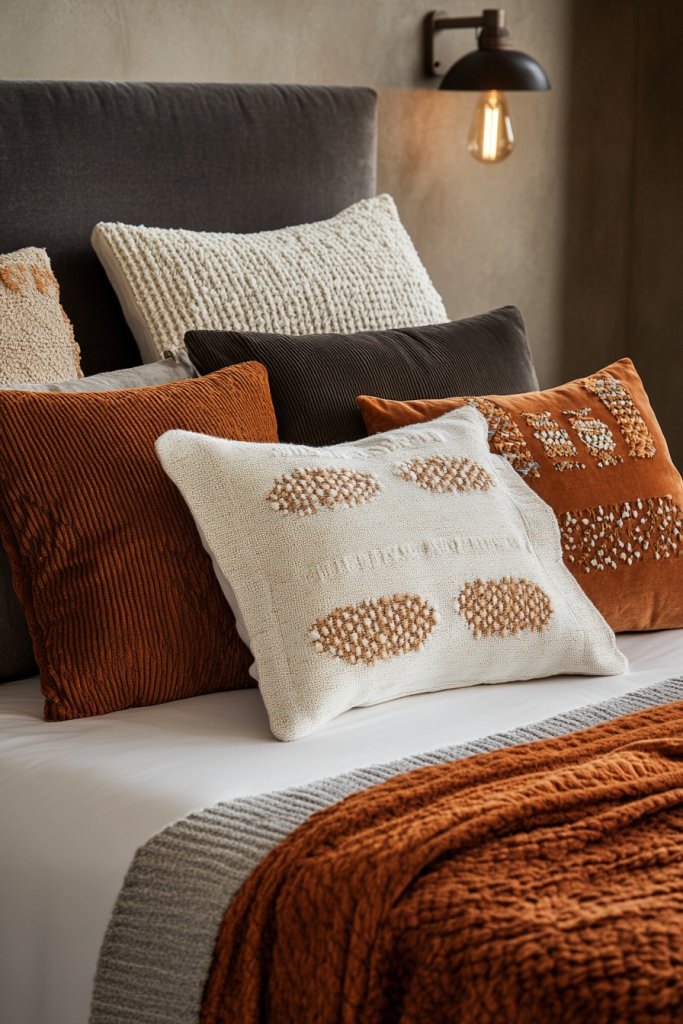
Elevate your sofa or bed with textured throw pillows that combine comfort and visual interest through unique covers. These pillows add layers of softness and personality, making your home feel both stylish and welcoming.
Visualize plush cushions in rich, tactile fabrics like chunky knit, faux fur, or embroidered linen, in shades ranging from creamy neutrals to bold jewel tones. The textures contrast beautifully with smooth surfaces, such as sleek leather or polished wood, creating a balanced, curated look.
Some pillows feature decorative details like tassels, braided trims, or geometric patterns that catch the eye and invite touch. Strategically scattering these on your sofa or bed adds a cozy, layered aesthetic that instantly elevates the room’s style.
Creating your own involves selecting fabrics like knit, faux fur, or embroidered textiles, along with basic sewing supplies if making covers from scratch. Alternatively, you can repurpose old textiles or scarves into pillow covers for an upcycled look.
Fill with inexpensive polyester stuffing or foam inserts for comfort. Mix and match different textures and colors to suit your taste, and place your pillows thoughtfully for a fresh, inviting vibe that’s easy to update seasonally.
4. Decorative Wire Shelves for Display and Storage
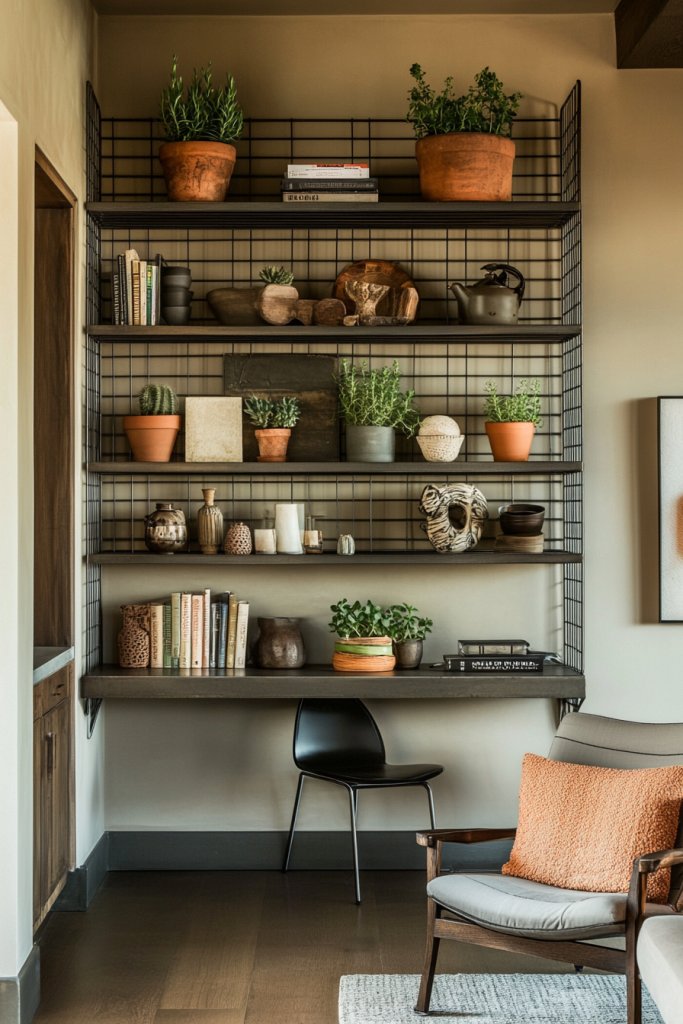
Decorative wire shelves combine function and style, offering a versatile solution for showcasing decor, plants, or essentials while adding an industrial-chic touch to your space. Their open design keeps rooms feeling airy and modern.
Envision sleek black or metallic silver wire shelves mounted on your wall, supporting a curated collection of small potted succulents, framed photos, or ceramic sculptures. The open grid pattern creates visual interest without clutter, allowing light to pass through and making the space feel larger.
These shelves work well in kitchens, bathrooms, or living rooms, providing a stylish platform for everyday items or decorative accents that reflect your personality. To DIY, all you need are metal wire or pipe shelving units, brackets or wall mounts, and tools like a drill and level.
You can purchase pre-made wire shelves or craft your own from wire mesh or metal rods, cutting them to size and welding or attaching brackets. For a simple project, install ready-made shelves at varying heights for visual interest. This affordable upgrade combines practicality with aesthetic appeal and can be customized in color and size to fit your space perfectly.
5. Painted Wooden Crate Coffee Tables and Side Tables
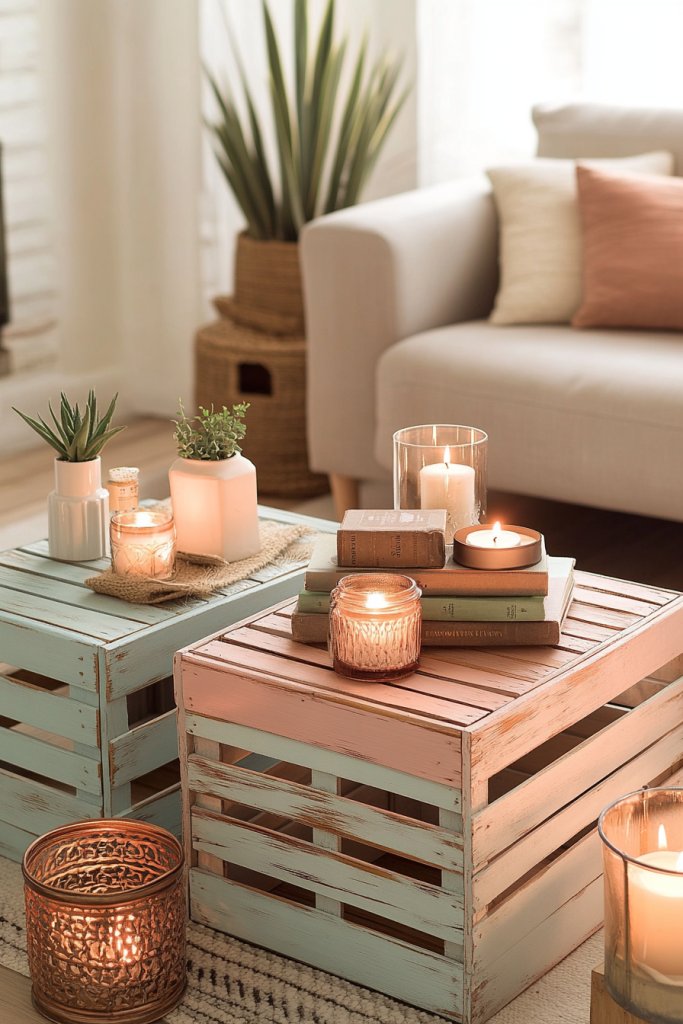
Repurposing wooden crates into painted coffee or side tables offers a charming, rustic solution that’s both functional and customizable. It’s a quick way to add character and extra surface space to your living area.
Picture a set of sturdy wooden crates painted in soft pastel hues or classic black, stacked or placed side-by-side to form a table. The rough-hewn texture of the wood contrasts with smooth, painted surfaces for a layered look.
You might add a clear sealant to preserve the paint or distress the edges for a vintage feel. Top with a tray, books, or decorative objects like candles or vases to complete the look.
This DIY project lends a cozy, eclectic vibe perfect for casual spaces or boho styles. Start by sourcing wooden crates from craft stores, flea markets, or online.
Sand them lightly for a smooth finish, then paint using latex or chalk paint for easy application. Let the paint dry thoroughly before arranging the crates in your desired configuration.
Add felt pads underneath if you’re stacking, and style with your favorite decor items. This simple project allows for endless customization and is a budget-friendly way to create stylish, practical furniture pieces.
6. DIY Abstract Canvas Art Using Tape and Bright Colors
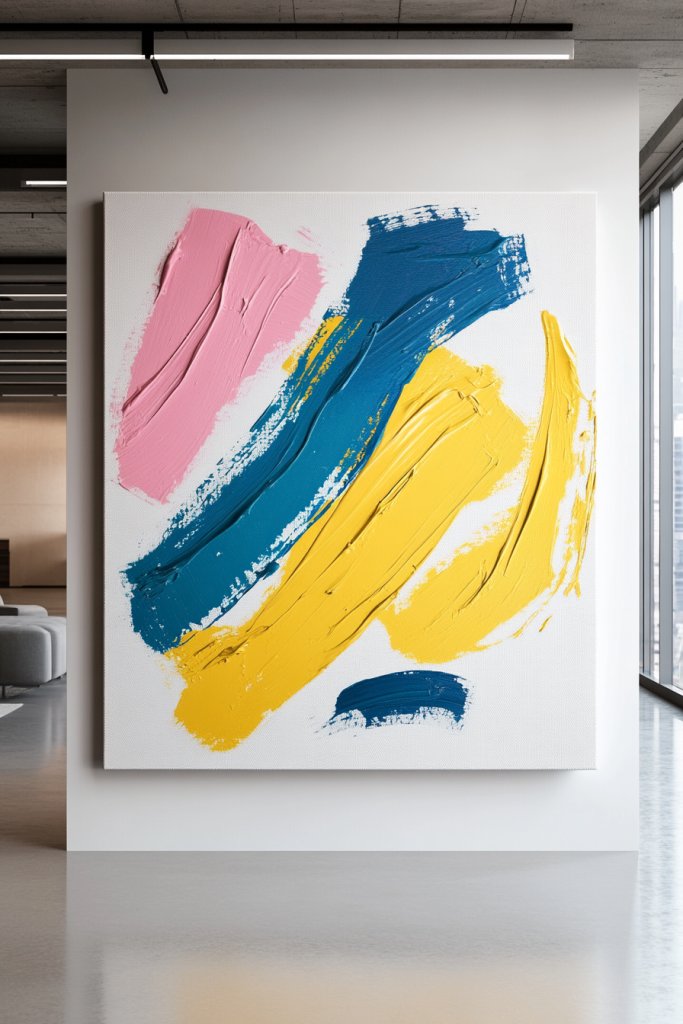
Creating your own abstract canvas art is a fun way to add a burst of personality and color to your home without breaking the bank. It’s a perfect project for anyone looking to introduce a modern, artistic vibe to their space with minimal experience needed.
Imagine a large, blank canvas transformed into a lively masterpiece with bold, overlapping shapes. Bright hues like fiery reds, sunny yellows, and electric blues are painted in broad strokes or geometric patches, with crisp lines and sharp edges achieved using painter’s tape.
The tape creates clean separations between colors, giving the piece a contemporary feel. The texture of the paint is smooth and glossy, catching light and adding vibrancy, while the taped edges provide a graphic, structured contrast.
This piece can be customized to fit any color scheme or size, making it a versatile statement piece that energizes your room. To make this art, start with a stretched blank canvas and gather painter’s tape, acrylic paints in your chosen bright colors, and brushes or foam rollers.
Use the tape to section off areas on the canvas, creating geometric or freeform shapes. Paint within each section with bold colors, removing the tape once dry to reveal crisp lines.
For a more dynamic look, layer different colors or add metallic accents with gold or silver paint. This DIY project is straightforward, affordable, and allows you to experiment with color blocking and design, resulting a vibrant art piece that’s uniquely yours.
7. Rustic Wooden Signs with Inspirational Quotes
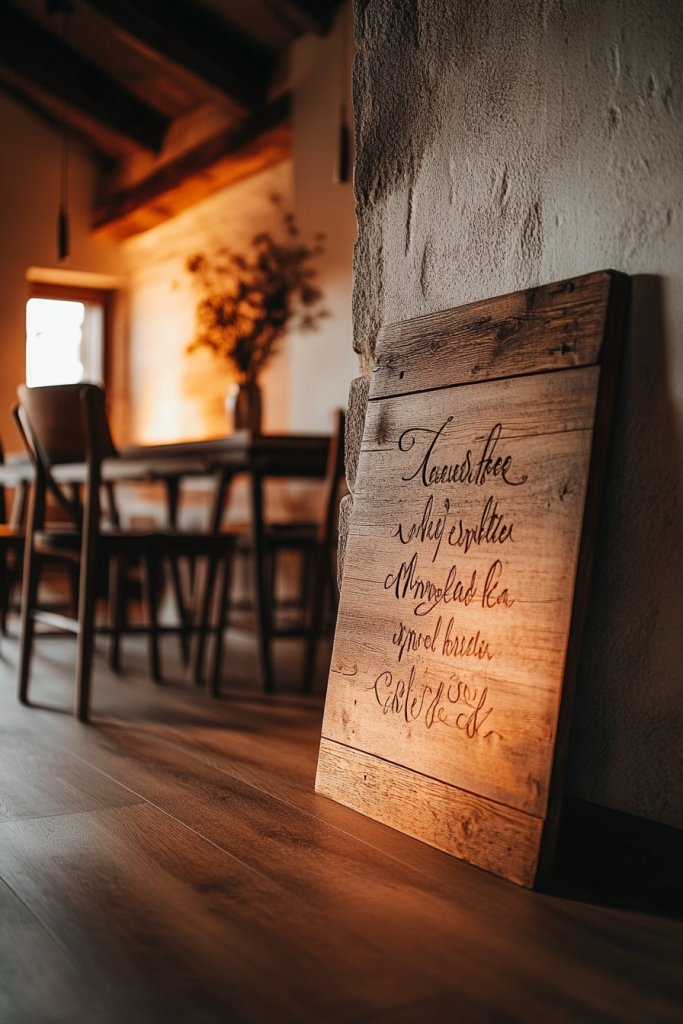
Rustic wooden signs with inspirational quotes bring warmth and motivation into any space, perfect for gift-giving or personalizing your home decor with a cozy, farmhouse charm. Visualize a distressed wooden plank, roughly sanded to reveal natural grain and knots, giving it a weathered, vintage look.
The background is typically a soft, neutral color like white, cream, or light gray, which contrasts beautifully with dark, bold lettering—think black or deep navy. The quote itself might be a motivational phrase like “Choose Joy” or “Home Sweet Home,” painted in a stylish, handwritten font or a simple serif typeface.
The sign might be adorned with small decorative elements such as twine, lace, or painted accents that enhance its rustic appeal. When hung on a wall or propped on a shelf, these signs instantly add a personal and inviting touch to your decor.
To create your own, gather a piece of reclaimed or craft wood (about 12×24 inches), white or neutral-colored paint or stain, and black or dark-colored paint for the lettering. Sand the wood to achieve a distressed look, then paint or stain it to your liking.
Use painter’s tape to outline your quote or freehand it with a pencil first. Use a fine brush or chalk marker to carefully paint the text, ensuring clean, crisp lines.
Finish with a clear sealant if desired to protect the surface. This easy project is perfect for beginners and can be customized with different quotes, fonts, or decorative touches for a personalized, rustic statement.
8. Faux Fur Rugs to Add Softness and Luxury

Faux fur rugs instantly elevate your space with a plush, cozy texture that screams luxury and comfort, perfect for bedrooms, living rooms, or cozy reading nooks. Picture a rectangular rug with a dense, fluffy pile in a soft, neutral color like ivory, blush, or gray.
The faux fur feels incredibly soft underfoot, inviting you to kick off your shoes and relax. The texture is thick and tactile, creating a luxurious surface that adds warmth and sophistication to any room.
The visual appeal is enhanced by the natural-looking, slightly uneven pile, mimicking real fur but without the ethical concerns. These rugs act as statement pieces—placing one under a coffee table or beside the bed instantly transforms the space into a cozy retreat.
To make your own, you’ll need faux fur fabric (available at craft stores or online)—choose a length and color that complements your decor—and a durable fabric backing or non-slip rug pad. Cut the faux fur to your desired size, then attach it to the backing using a strong adhesive or sew the edges if you’re comfortable with sewing.
For added durability, consider adding a non-slip grip underneath or sewing a border around the edges to prevent fraying. Faux fur rugs are straightforward to assemble and require minimal tools, making them an accessible way to introduce a touch of luxe softness to your home.
9. Modern Geometric Mirror Frames for a Chic Look
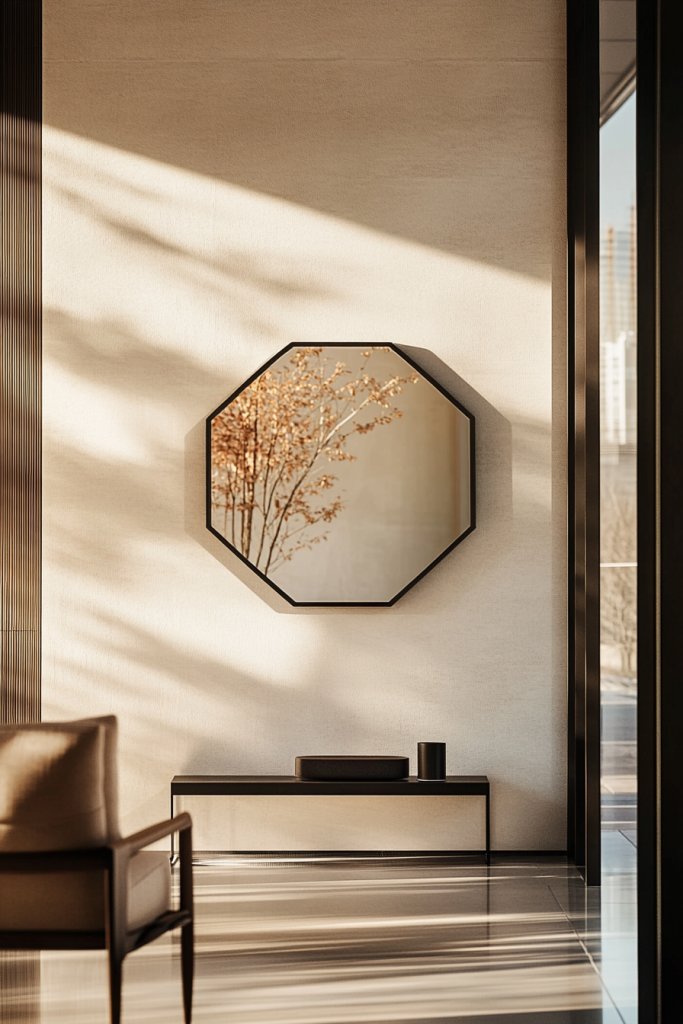
Geometric mirror frames are a stylish way to add a contemporary, eye-catching focal point while amplifying your space’s light and openness. Visualize a sleek, round or hexagonal mirror encased in a frame made of interconnected metal or wooden shapes—think triangles, polygons, or layered rectangles—painted in matte black, gold, or metallic silver.
The frame’s geometric design creates interesting shadows and reflections, adding depth and visual intrigue. The overall look is minimalist but bold, blending modern aesthetics with artistic flair.
When hung on a wall, the mirror reflects light beautifully, making the room appear larger and more airy. These frames serve as both functional and decorative elements, elevating your decor with a sophisticated, contemporary edge.
To DIY, start with a plain mirror (around 20-24 inches in diameter or your preferred size) and gather metal or wooden strips or shapes. Construct your geometric frame by attaching the pieces together with strong adhesive or small nails, ensuring a clean, precise finish.
Paint the frame in your chosen color—matte black or metallic tones work well—using spray paint or acrylics. Attach the finished frame to the mirror with a durable adhesive or mounting brackets. This project is accessible for beginners and allows for endless customization, making an impactful statement piece that complements modern interiors effortlessly.
10. Hanging Fabric Banners for Seasonal or Themed Decor
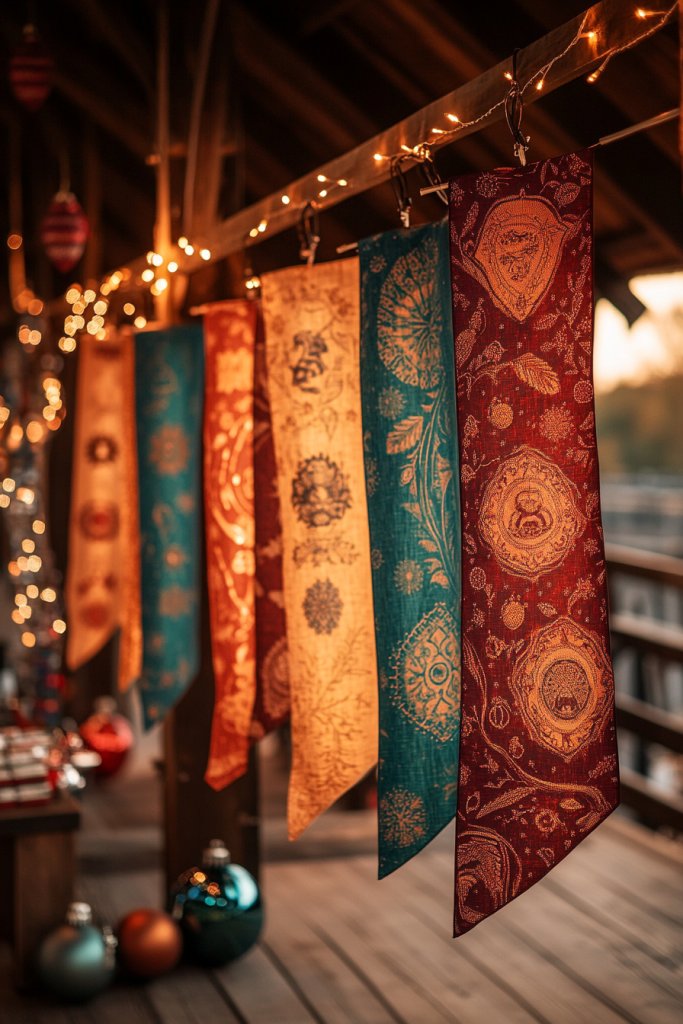
Hanging fabric banners are a delightful way to add a whimsical, personalized touch to any space, perfect for seasonal celebrations or themed decor. They’re inexpensive, versatile, and instantly transform a blank wall or corner into a focal point of style and personality.
Imagine a long, flowing banner made from lightweight cotton or burlap, fringed at the edges, with fabric triangles or rectangles in cheerful colors like soft blush, navy, or gold. For a festive look, incorporate seasonal patterns—like snowflakes for winter or sunflowers for summer—or customize with hand-painted messages or motifs.
These banners sway gently with air currents, adding movement and warmth, while their textured layers create visual interest. They can be hung across mantels, along stair railings, or above a dining table, infusing the space with a cozy, celebratory vibe.
To create your own fabric banner, start with fabric in your chosen colors and patterns—cotton, linen, or burlap work well—and cut into your preferred shapes. Use twine or ribbon to string the pieces together, securing each with a simple knot or stitch.
Attach the banner to a wall or ceiling with push pins or removable hooks, making sure it hangs evenly. For added flair, embellish with buttons, tassels, or pom-poms. This project is beginner-friendly and easily customizable for any occasion.
11. Repurposed Ladder as a Stylish Plant or Towel Rack
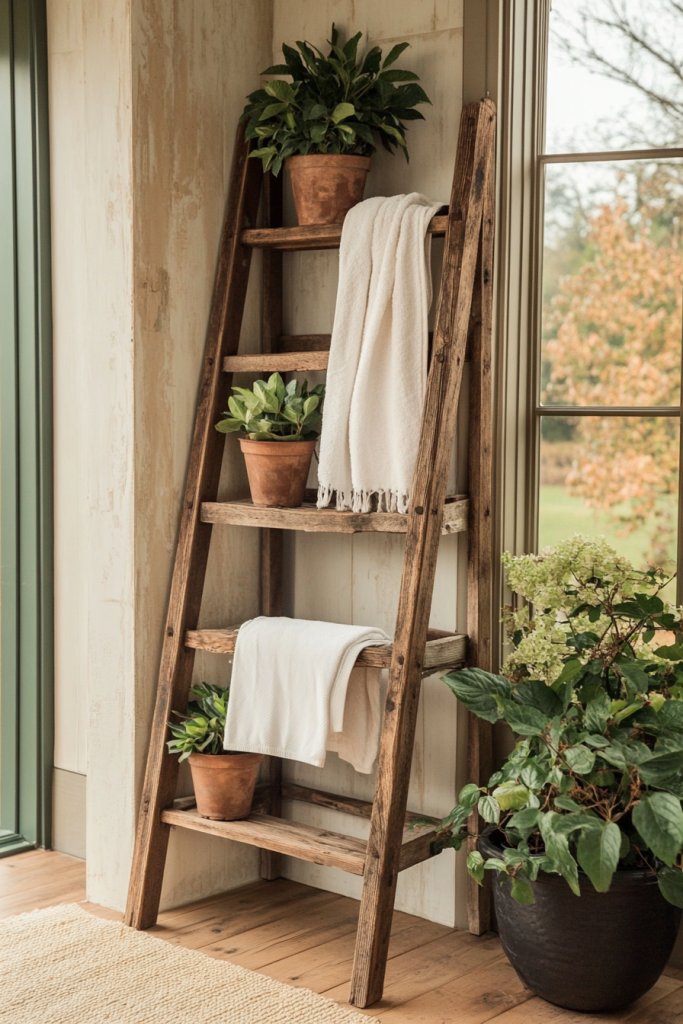
Transforming an old wooden ladder into a chic, functional rack is a clever way to add rustic charm and practical storage to your home. Whether used in the living room, bathroom, or balcony, it creates a layered display that’s both eye-catching and useful.
Picture a weathered, vintage ladder leaning against a wall, with its rungs supporting rolled-up towels or lush faux plants in woven baskets. The natural wood’s warm tones contrast beautifully with soft textiles or glossy ceramics, creating a cozy, inviting atmosphere.
If used in the bathroom, it holds fluffy towels and toiletry baskets, while in the living room, it displays potted succulents or fairy lights. The design emphasizes simplicity, texture, and an effortless vintage aesthetic that makes your space feel both lived-in and curated.
To DIY this project, find a secondhand wooden ladder—or build one from scratch with wood planks and screws. Sand and stain or paint it in a color that matches your decor.
Then, add draping textiles or attaching baskets to the rungs using hooks or ties. For a modern twist, consider spray-painting the ladder in a bright hue like pastel blue or matte black. This project is straightforward, requiring only basic tools and a bit of creativity, making it accessible for most DIYers.
12. Decorative Trays with Candles and Decorative Objects
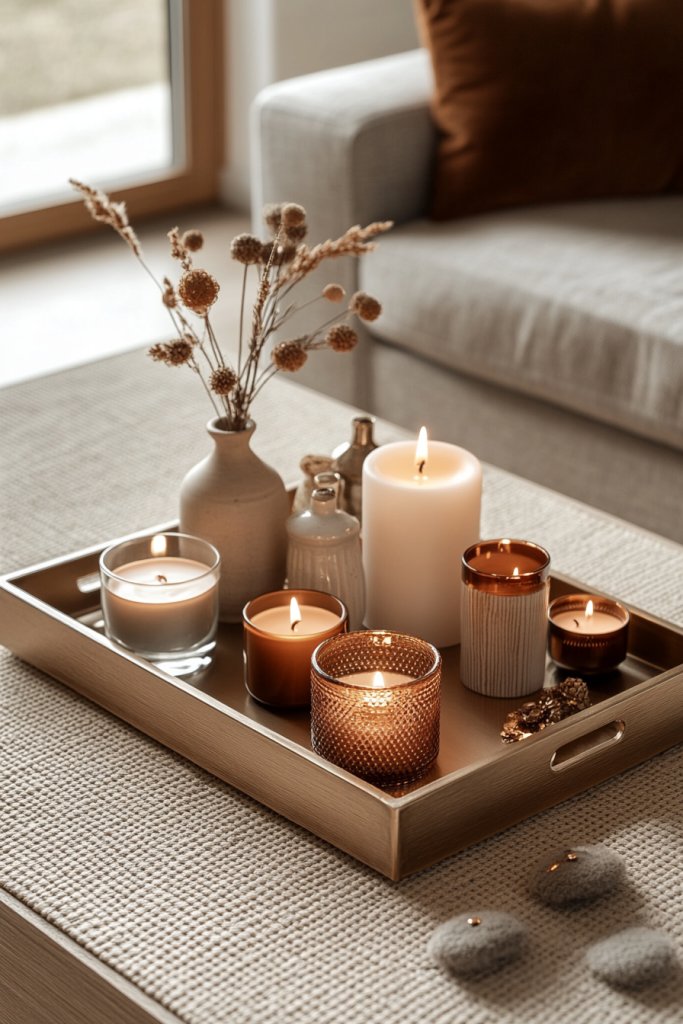
Decorative trays serve as stylish organizers that instantly elevate your tabletop or coffee table, turning everyday objects into eye-catching vignettes. They’re perfect for creating a cozy, curated look in living rooms, bedrooms, or entryways.
Visualize a rectangular brass tray with a slightly hammered finish, holding a cluster of white pillar candles, a small succulent, and a few decorative books or vintage trinkets. The tray’s reflective surface adds a touch of elegance, while the grouped objects create layers of texture and interest.
Alternatively, a rustic wooden tray with a distressed finish can host a mix of candles, a vase of dried flowers, and a ceramic dish for jewelry or keys. The arrangement invites touch and adds warmth through tactile contrast, making your space feel thoughtfully styled.
To make your own, select a tray in a material that suits your style—metal, wood, or mirrored glass. Arrange candles, decorative objects, and small plants or flowers on it, balancing height and texture for visual appeal.
Use hot glue or small hooks to attach items if you want a more permanent display. For a quick update, change the objects seasonally—think pinecones and holly for winter or shells and citrus for summer. Creating a personalized tray setup is simple, inexpensive, and instantly adds chic organization to your decor.
13. Minimalist Floating Shelves for Books and Decor Accents
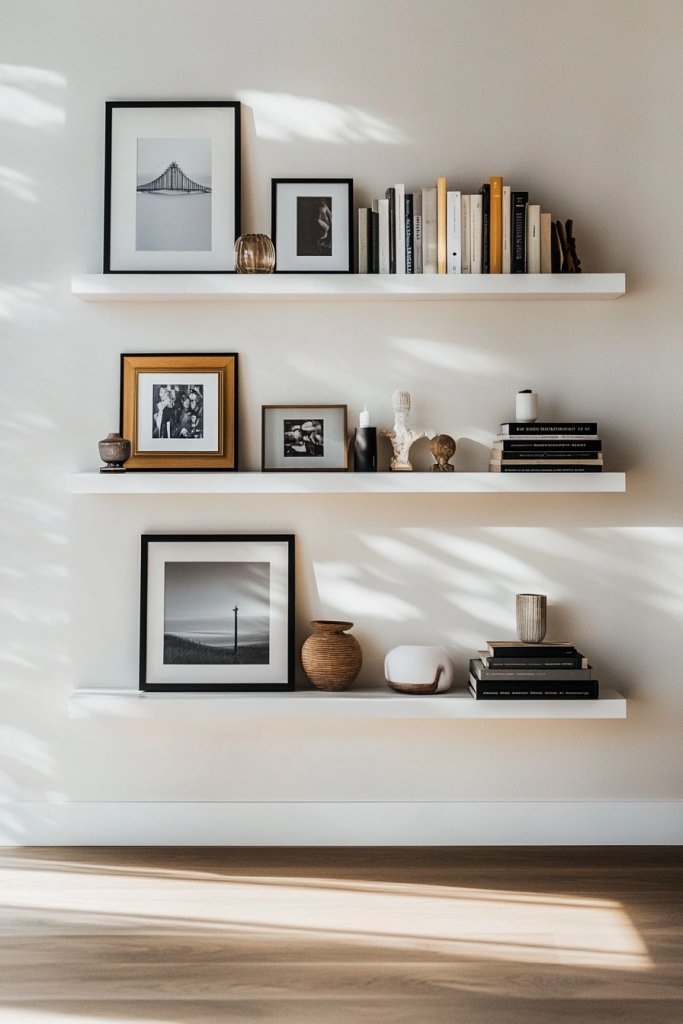
Floating shelves are a sleek, space-saving way to display books, photos, and decorative accents without cluttering your surfaces. Their minimalist design complements modern, Scandinavian, or industrial interiors effortlessly.
Picture a set of slim, matte black or natural wood shelves mounted directly onto the wall, with neatly stacked books, small sculptures, and framed photos arranged in an organized yet relaxed manner. The open design emphasizes clean lines and keeps your space feeling airy and open.
The shelves can be staggered for visual interest or aligned for a more uniform look. They’re perfect for creating a curated gallery in your living room, bedroom, or hallway, adding personality and functionality with minimal effort.
To install, measure and mark where you want each shelf to sit, then secure brackets or mounting hardware into wall studs or using wall anchors. Use pre-cut wooden planks or ready-made floating shelf kits for simplicity.
Decorate by stacking books, placing small decorative objects, or even adding framed quotes or artwork. This project is beginner-friendly, requiring only basic tools and a bit of patience, and it allows for endless personalization to match your style.
14. DIY Painted Planters for a Pop of Color (without plants)
Brighten up your space with colorful, hand-painted planters that serve as decorative objects even without greenery. They add a playful, modern touch to shelves, window sills, or tabletops, making your decor feel lively and personalized.
Imagine a set of terracotta or ceramic pots transformed with bold geometric patterns, cheerful stripes, or subtle metallic accents using acrylic paints. Choose vibrant shades like coral, teal, or mustard yellow to create visual pops against neutral backgrounds.
Textured brushstrokes or stenciling add depth and character, turning plain containers into statement pieces. These painted planters can double as standalone decor objects or be used to hold faux plants, dried flowers, or even small collectibles.
To create your own, select plain ceramic or terracotta pots and gather acrylic paints, brushes, and painter’s tape. Start with a clean, dry surface, then sketch your design lightly with pencil if needed.
Use painter’s tape to create sharp lines or freehand for more organic patterns. Let each layer dry thoroughly before applying additional coats or details. This project is budget-friendly and easy to customize, allowing you to match your decor palette and style effortlessly.
15. Vintage Suitcase Side Tables with a Retro Vibe
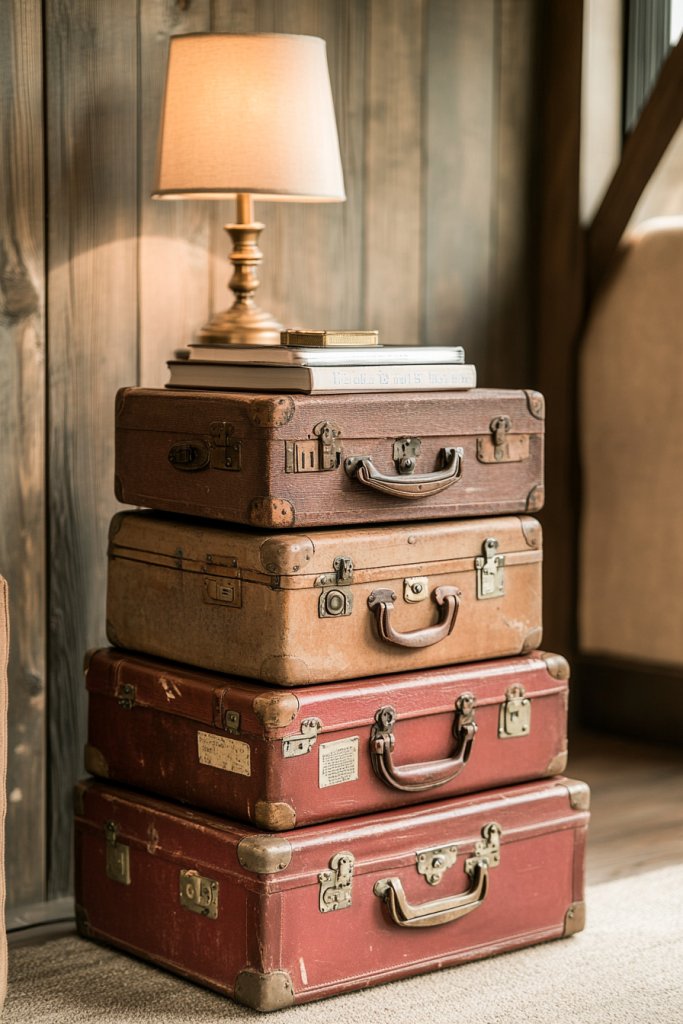
Transforming old suitcases into charming side tables is a fantastic way to add a nostalgic, vintage touch to your space. These pieces instantly evoke a sense of wanderlust and retro style, making your living room or bedroom feel both cozy and adventurous.
Plus, they’re a creative way to repurpose items you might already have or find at thrift stores. Imagine a classic brown leather suitcase with brass accents, opened slightly to reveal a sturdy, flat surface perfect for holding a lamp, a stack of books, or a decorative tray.
The suitcase stands upright on its wheels or flat on the floor, acting as a stand-out piece with its textured exterior and nostalgic charm. The interior can be left empty for storage or lined with fabric for a softer, more polished look.
The overall vibe is warm, eclectic, and effortlessly stylish, blending functional furniture with a story to tell. To make your own vintage suitcase side table, start by selecting a suitcase with character—leather, fabric, or metal-clad works well.
Clean it thoroughly and ensure it’s sturdy enough to hold items. You can add small furniture legs or simply place it directly on the floor.
If desired, reinforce the bottom with plywood for extra stability. Finish by decorating the top with a small lamp or a tray to keep the look practical yet charming. It’s a simple DIY that adds instant retro flair!
16. Woven Baskets for Stylish and Practical Storage
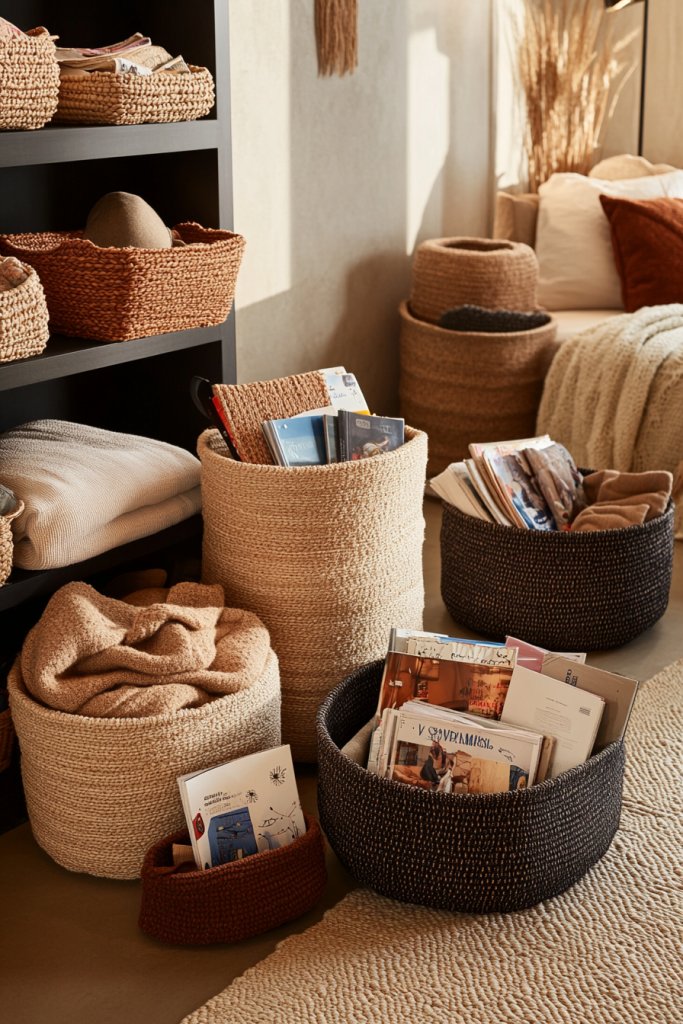
Woven baskets are a versatile, attractive solution for decluttering your home while adding texture and warmth to your decor. Whether used for storing blankets, magazines, or toys, they blend seamlessly into boho, rustic, or modern interiors, making organization feel like a design statement rather than a chore.
Picture a collection of large, handwoven baskets made from natural fibers like seagrass, rattan, or jute. They sit neatly in a corner of your living room or bedroom, their intricate weave patterns adding visual interest.
The baskets come in neutral tones—beige, taupe, or gray—that complement a variety of color schemes, and their soft, tactile surfaces invite touch. Their rounded shapes and sturdy handles give a cozy, inviting feel, transforming storage from an eyesore into a decorative element.
To create your own stylish storage baskets, choose natural fiber baskets from craft stores or repurpose old laundry baskets with a coat of spray paint in a color that matches your decor. For a DIY touch, you can weave your own small baskets using reed or jute twine, following simple tutorials online.
Use sturdy handles for easy transport and place them where they’re most needed—under a coffee table, in a closet, or next to your bed. They’re practical, eco-friendly, and instantly elevate your space.
17. Fabric-Covered Bulletin Boards for Organization and Decor
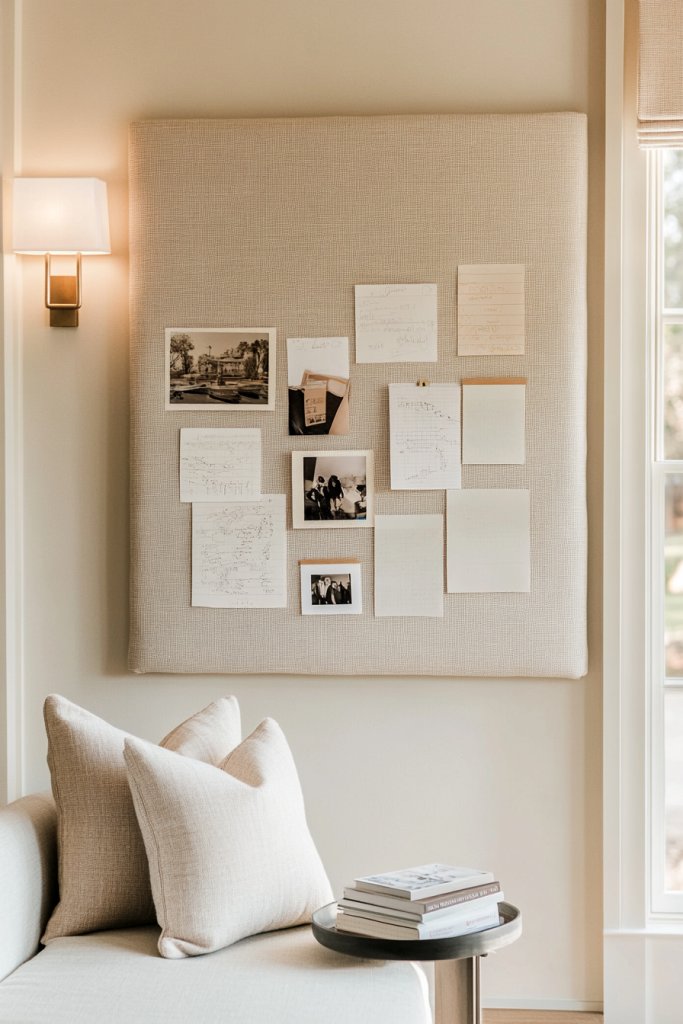
A fabric-covered bulletin board offers a practical yet stylish way to organize your notes, photos, or inspirational clippings while adding a soft, textured aesthetic to your space. It’s perfect for home offices, kitchens, or craft rooms, combining function with a cozy, personalized touch.
Visualize a square or rectangular corkboard framed with a sleek wooden or painted frame, covered in a vibrant or neutral fabric like linen, burlap, or cotton. The fabric is stretched tightly across the board and secured with upholstery tacks or staples, creating a smooth, polished surface.
You can customize it further by adding decorative pins, washi tape borders, or fabric bows. The overall look is inviting and tailored, blending seamlessly into a variety of decor styles, from farmhouse to modern chic.
To create your own fabric-covered bulletin board, start with a corkboard or foam board as your base. Choose a fabric that complements your decor, cut it slightly larger than the board, and stretch it over the surface.
Secure the fabric at the back with a staple gun or hot glue, ensuring it’s taut and smooth. Frame the finished piece with a wooden trim or paint a frame for added flair.
Hang it on your wall with nails or command strips. It’s an easy, budget-friendly project that keeps your space organized and beautiful.
18. Faux Marble Coasters for a Luxe Touch
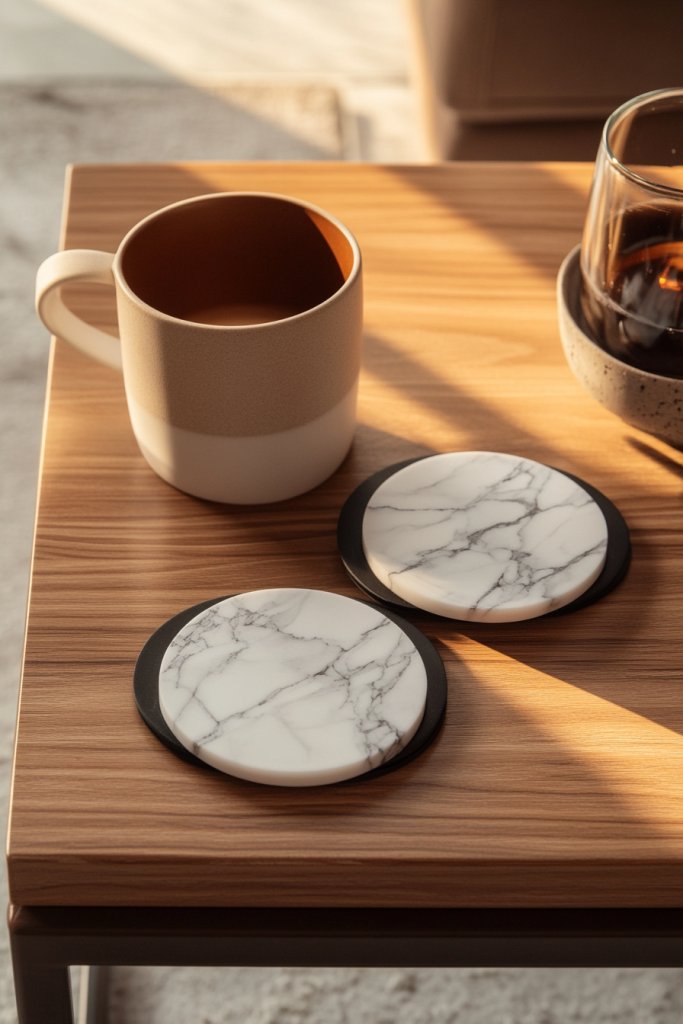
Faux marble coasters bring a touch of elegance and sophistication to any coffee table or dining area without the high price tag of real marble. They’re a chic, durable accessory that protects surfaces while adding a polished look, perfect for elevating your home decor effortlessly.
Picture a set of round or square coasters made from cork or wood, topped with a faux marble veneer—white with grey veins or black with gold accents. The surface has a smooth, glossy finish that mimics the luxurious appearance of real marble, while the edges are neatly sealed to prevent chipping.
These coasters sit stylishly under glasses, adding a sense of refined simplicity to your space. The cool, smooth surface feels satisfying to the touch, and the visual pattern adds visual interest and texture.
To make your own faux marble coasters, purchase adhesive marble contact paper or vinyl sheets from craft stores. Cut them into your desired shapes and sizes, then stick them onto cork or wood bases, smoothing out bubbles for a sleek look.
Seal the edges with a clear acrylic spray or mod podge for durability. You can also add felt pads underneath to prevent slipping. This easy project takes minimal time but delivers high-end style that’s perfect for everyday use or gifts.
19. String Lights Wrapped Around Frames or Fixtures for Warm Ambiance
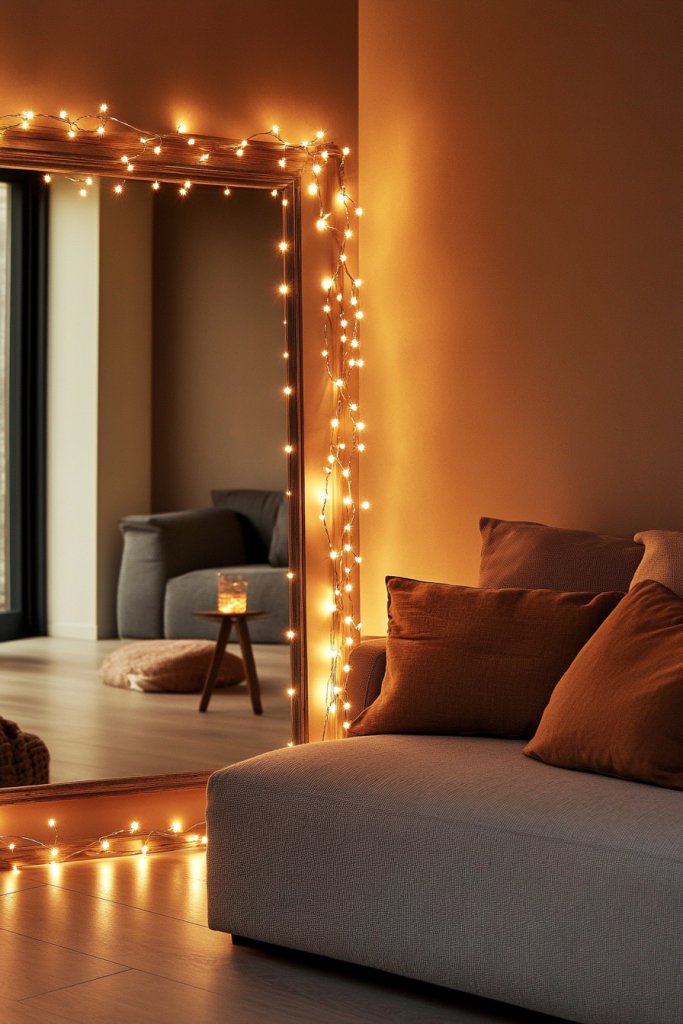
Wrapping string lights around picture frames, mirrors, or fixtures creates a soft, inviting glow that instantly transforms the ambiance of any room. This simple DIY adds warmth, charm, and a cozy, festive vibe, perfect for relaxing evenings or special occasions.
Visualize delicate warm-white string lights intertwined around a large gold-framed mirror, casting a gentle, diffused light across the room. The tiny bulbs add a twinkle-like effect, enhancing the reflective surface and creating a layered, luminous look.
Alternatively, wrap lights around a gallery wall of photos or art frames to add depth and soft illumination. The overall effect is warm, magical, and effortlessly stylish, making the space feel more intimate and inviting, especially during evenings or holidays.
To recreate this look, choose a set of LED string lights with a warm white glow and flexible wiring. Carefully wrap them around your chosen frame, mirror, or fixture, securing the wires discreetly with small clips or hooks if needed.
For a more polished appearance, hide the wiring behind the frame or wall. Plug in and enjoy the cozy atmosphere—this quick project requires minimal tools and instantly enhances the mood of your space.
20. Patterned Area Rugs with Easy DIY Stenciling
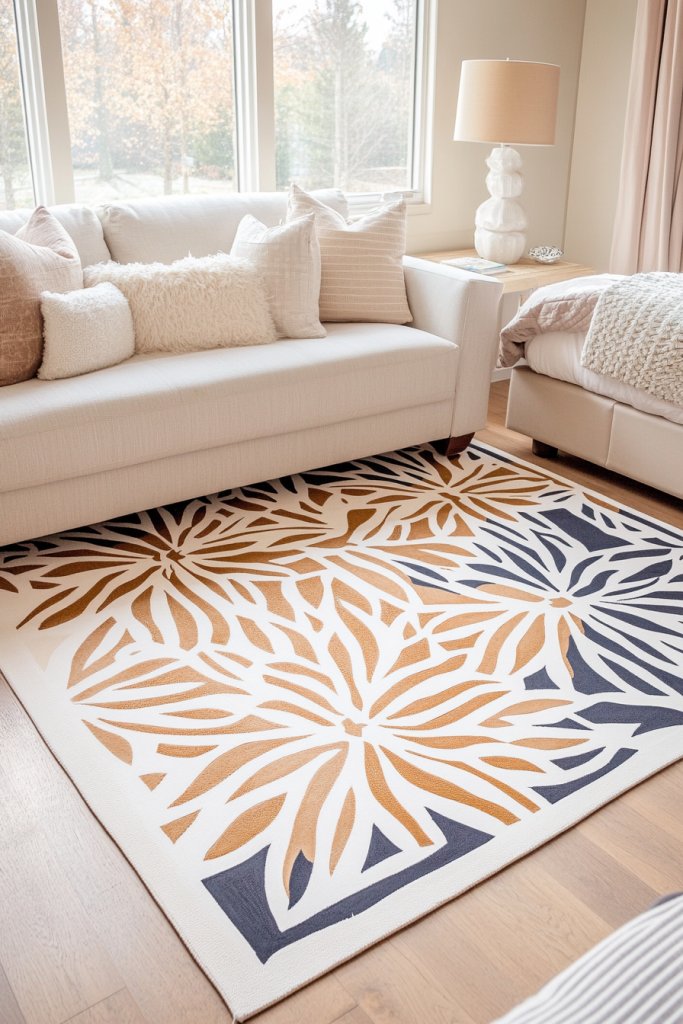
A patterned area rug instantly elevates any space, adding personality and warmth with minimal effort. Creating your own unique design makes your home feel personalized and stylish without breaking the bank.
Imagine a soft, plush rug in neutral tones like beige or gray, overlaid with bold geometric or floral patterns. Using painter’s tape or custom stencils, you can easily add contrasting colors such as navy, blush, or gold paint to achieve crisp, eye-catching designs.
The textured surface invites barefoot strolls, while the colors and patterns inject energy or serenity depending on your choice. This DIY rug feels like a custom piece, blending comfort with artistic flair, perfect for living rooms, bedrooms, or entryways.
To make your own patterned rug, start with a plain, inexpensive rug made from jute, wool, or synthetic fibers. Choose a stencil design or create your own with adhesive vinyl sheets and cut out shapes or patterns.
Secure the stencil to the rug with painter’s tape and use fabric or acrylic paint with a sponge or brush for application. Carefully remove the stencil to reveal your pattern.
For cleaner lines, use a small roller or sponge, and let the paint dry completely before walking on it. This project is beginner-friendly and allows for endless customization options.
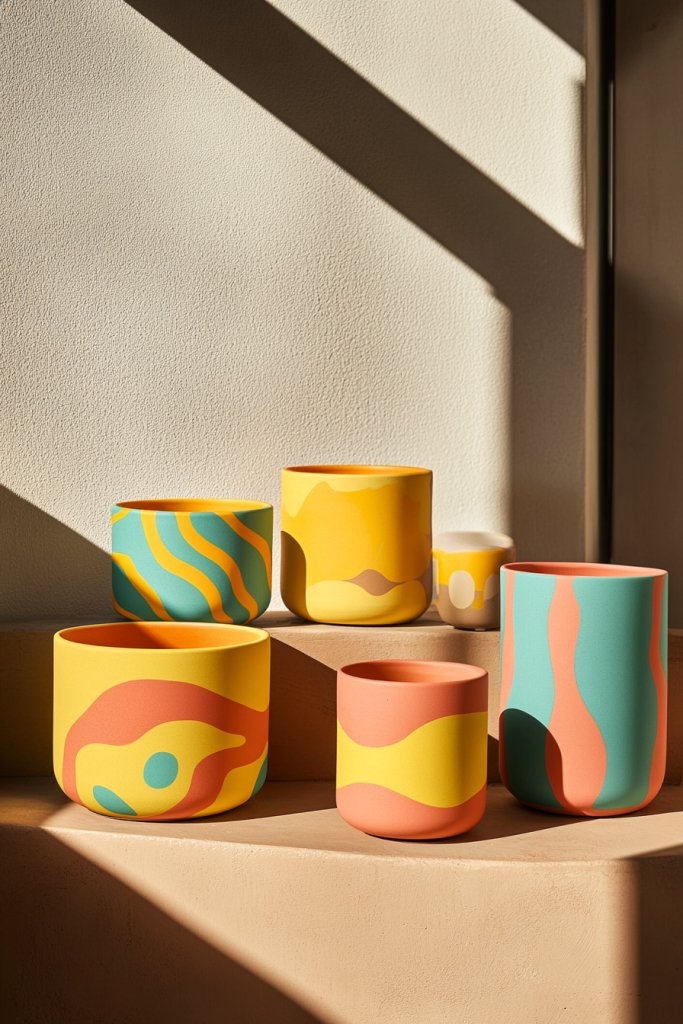
21. Decorative Ceramic Vases for Flowers or Standalone Decor
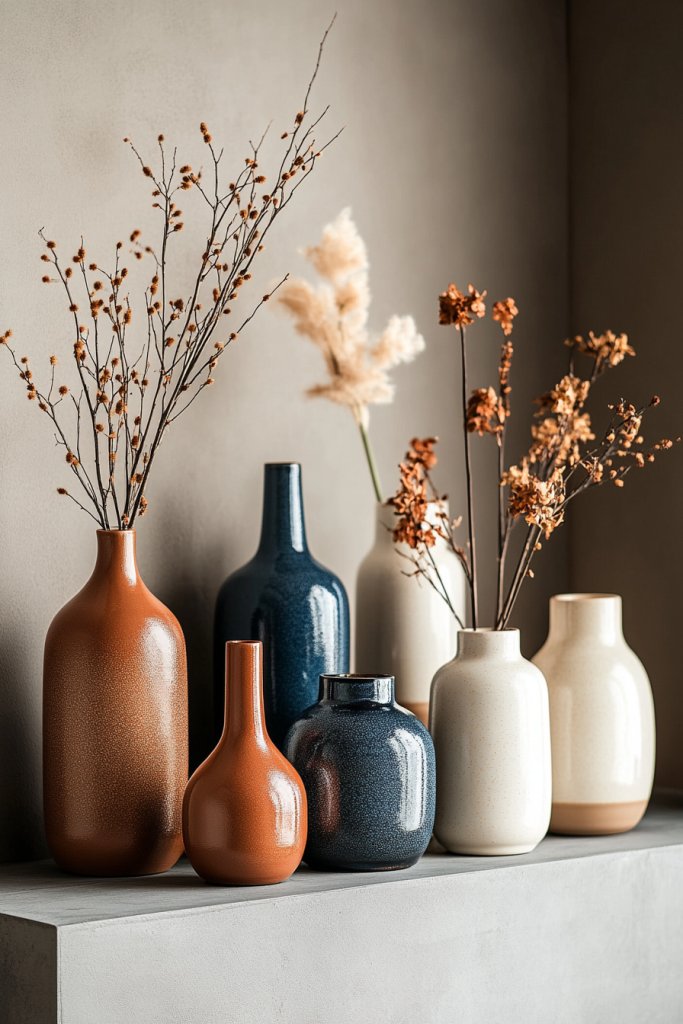
Decorative ceramic vases are versatile accents that add subtle elegance or bold statement pieces to your home. Whether used for fresh flowers or as standalone decorative objects, they bring texture, color, and personality to any space.
Picture a sleek, matte-finished vase in earthy terracotta tones or a glossy, colorful ceramic piece with intricate patterns. Some vases feature unique shapes like geometric faceted surfaces or organic, asymmetrical forms that catch the eye.
They can be styled on coffee tables, shelves, or mantelpieces, adding visual interest and a tactile element to your decor. These vases evoke a handcrafted, artisanal vibe that complements both modern and rustic interiors, creating a warm, inviting atmosphere.
To create your own decorative ceramic vases, you can repurpose existing ceramic containers or purchase plain, unfinished pieces from craft stores. For a DIY touch, use ceramic paint or glaze to add patterns, stripes, or abstract designs.
Alternatively, try decoupage with decorative paper or fabric for a textured look. If you’re more ambitious, you can try hand-building techniques with air-dry clay or polymer clay to form custom shapes, then paint or glaze once dried. These ideas make it simple to craft personalized vases that serve as eye-catching decor or thoughtful handmade gifts.
22. Customizable Wall Hooks Using Repurposed Hooks and Decor Items
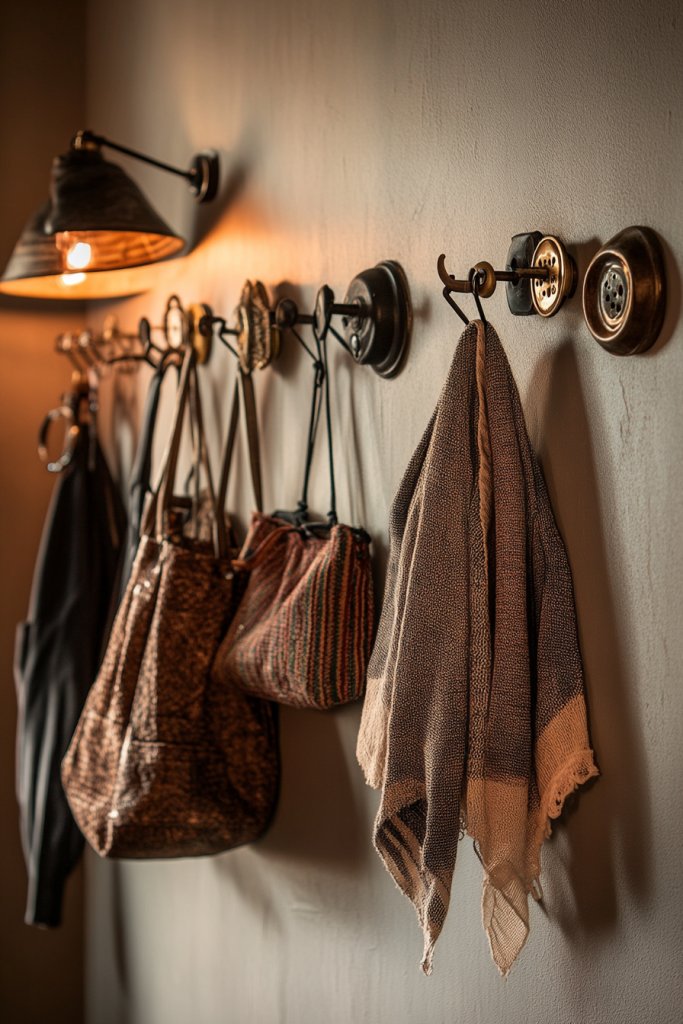
Transforming everyday objects into stylish wall hooks is a smart way to add functional decor with a DIY twist. Custom hooks are perfect for hanging coats, bags, or decorative accessories, while also injecting personality into your space.
Visualize a row of vintage silverware, ornate door handles, or decorative knobs mounted on a painted wood plank or directly on the wall. These repurposed hooks come in a variety of styles, from rustic and industrial to shabby chic.
Arranged evenly or in a playful asymmetrical pattern, they create a charming focal point on kitchen walls, entryways, or bedrooms. The mix of textures and finishes adds visual interest, making your home feel curated and personalized.
To make your own wall hooks, gather items like old doorknobs, drawer pulls, vintage keys, or even sturdy jewelry hooks. Attach them securely to a wooden or metal backing using strong screws or adhesive.
For added style, paint or stain the backing in a coordinating color or distressed finish. Ensure each hook is firmly anchored to hold weight, and arrange them in a pattern that suits your space. This project is straightforward, affordable, and endlessly customizable, perfect for adding a functional art piece to your home.
23. Painted Mason Jars as Unique Vases or Storage Containers
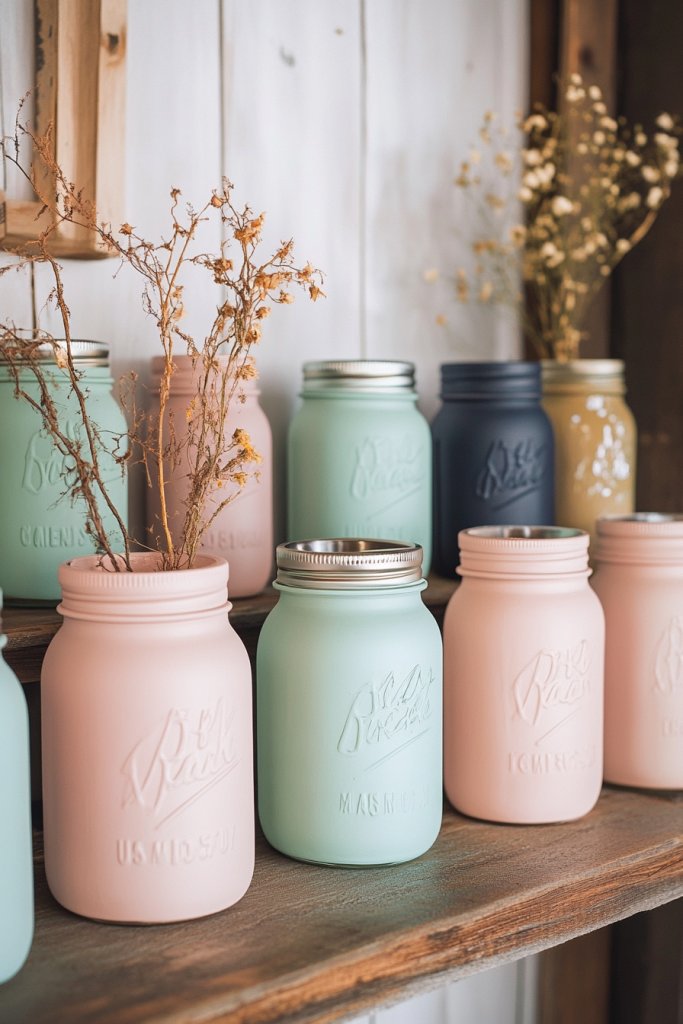
Mason jars are classic, versatile containers that can be transformed into charming vases or stylish storage options with a simple coat of paint. They bring a rustic or modern touch to your decor while being highly functional.
Imagine a row of mason jars painted in soft pastel shades like mint, blush, or powder blue, filled with fresh or faux flowers, or left empty to showcase their vibrant hues. Alternatively, use metallic or chalkboard paint to create containers for organizing utensils, craft supplies, or bathroom essentials.
The painted surface adds color and texture, and you can personalize each jar with stenciled patterns, monograms, or stripes for a custom look. These decorative jars infuse warmth and character into kitchens, bathrooms, or shelves.
To DIY painted mason jars, start with clean, dry jars. Use spray paint or brush-on craft paint in your chosen colors, applying thin, even coats and allowing each layer to dry thoroughly.
For a more decorative finish, add stenciled designs, chalkboard labels, or metallic accents. Once painted, seal with a clear protective spray if needed. These projects are simple, budget-friendly, and adaptable to any decor style, transforming ordinary jars into statement pieces.
24. Layered Textiles with Mixed Patterns for a Cozy, Effortless Style
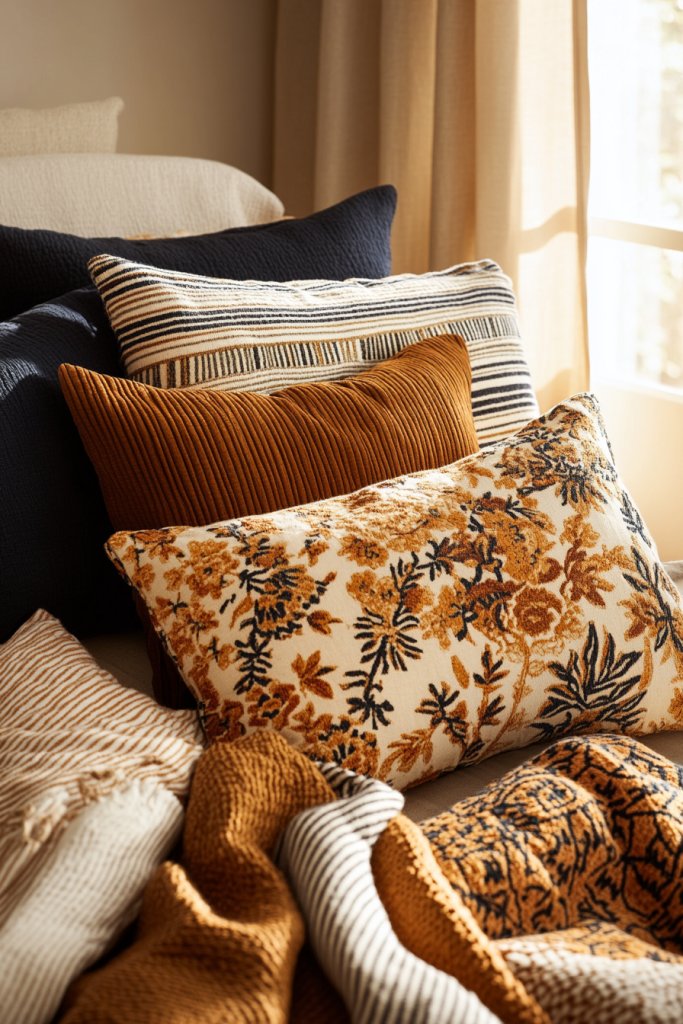
Layering textiles is an easy way to create depth, warmth, and visual interest in a room. Mixing patterns, textures, and colors results in a cozy, curated look that feels effortless yet thoughtfully styled.
Picture a plush, chunky-knit throw blanket in a neutral hue draped over a sofa, paired with a patterned cushion featuring florals or geometric shapes. Add a textured woven rug underneath with layered smaller rugs or mats for a layered effect.
Incorporate different fabrics such as velvet, linen, and faux fur for tactile richness. When done thoughtfully, the combination of patterns—like stripes with florals or chevrons with solids—creates a lively, inviting atmosphere.
This approach makes any space instantly more lived-in and stylish. To achieve this look, select a few key textiles in complementary colors or themes.
Start with a large, neutral base like a neutral-toned sofa or bed, then layer in smaller patterned pillows, throws, and rugs. Mix different textures for added interest, and don’t be afraid to combine bold and subtle patterns.
Keep the color palette cohesive to avoid visual chaos. This technique is beginner-friendly, inexpensive, and perfect for seasonal updates, making your home feel warm and welcoming with minimal effort.
Conclusion
With these 25 easy DIY home decor ideas, transforming your space into a stylish and personalized sanctuary has never been simpler. From chic wall hangings and painted planters to cozy textiles and clever repurposing, there’s something for every taste and skill level. Give these projects a try and infuse your home with creativity and charm—your unique style is just a DIY away! Start creating today and turn everyday items into stunning decor that reflects your personality.
Leave a Reply